Hey there, green-thumbed friends and anyone dreaming of fresh, homegrown goodness! There’s absolutely nothing quite like stepping into your backyard and harvesting a sun-ripened tomato or a crisp lettuce leaf that you’ve grown yourself, especially with the growing trend towards sustainable living and knowing exactly what’s on your plate.
I remember the sheer excitement (and yes, a few hilarious mishaps!) when I first started my own little veggie patch. It’s been an incredible journey of learning, laughing, and ultimately, savoring the most delicious produce imaginable.
If you’re curious about starting your own garden, or just want to make your current one even better and more aligned with current health trends, you’ve come to the right place.
Let’s dig in and discover some truly rewarding secrets together!
Unearthing the Perfect Spot: Sunshine and Soil Secrets for Your Patch of Green
Alright, let’s get real about starting your gardening journey. The very first hurdle I faced, and honestly, one that many folks overlook, is finding that prime piece of real estate in your own backyard.
You might have dreams of rows upon rows of tomatoes, but if your chosen spot is perpetually shaded by a grumpy old oak tree, you’re setting yourself up for disappointment.
I learned this the hard way with my first sad attempt at growing zucchini in a shady corner – it was more like a long, drawn-out goodbye than a harvest!
Most vegetables crave at least 6-8 hours of direct sunlight daily. So, before you even think about buying seeds, spend a day (or better yet, a week!) observing your yard.
Watch how the sun moves across your property from morning till evening. Note down which areas are drenched in glorious rays and which are in constant shade.
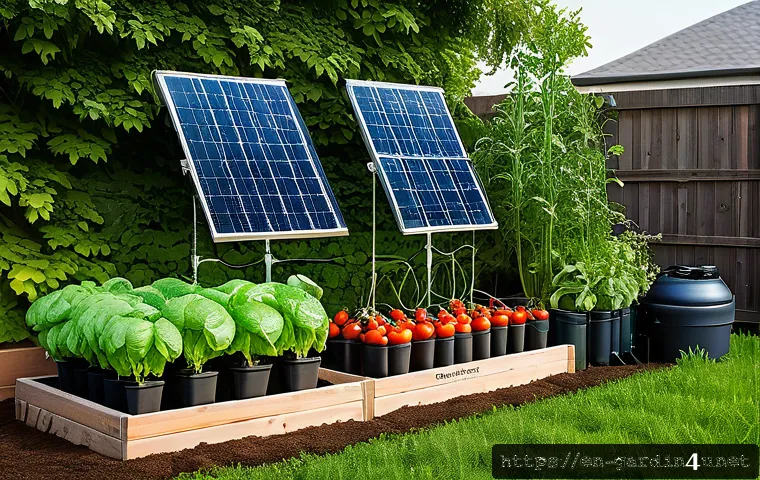
This isn’t just a suggestion; it’s practically a golden rule for gardening success. My biggest breakthrough came when I realized the forgotten strip along my south-facing fence was a sun trap – perfect for my sun-loving tomatoes and peppers!
It’s all about working with what nature gives you, not against it. Remember, you’re building a relationship with your land, and understanding its light patterns is like learning its love language.
Decoding Your Dirt: Soil Testing for Success
Once you’ve nailed down the sunniest spot, it’s time to get down and dirty – literally – with your soil. I used to think all dirt was created equal, just a brown substance where plants magically grew.
Oh, how naive I was! The truth is, your soil is the very foundation of your garden’s health, a bustling ecosystem teeming with life. Is it heavy clay that compacts into a rock-hard slab after a rain, or sandy, free-draining stuff that seems to let water run straight through?
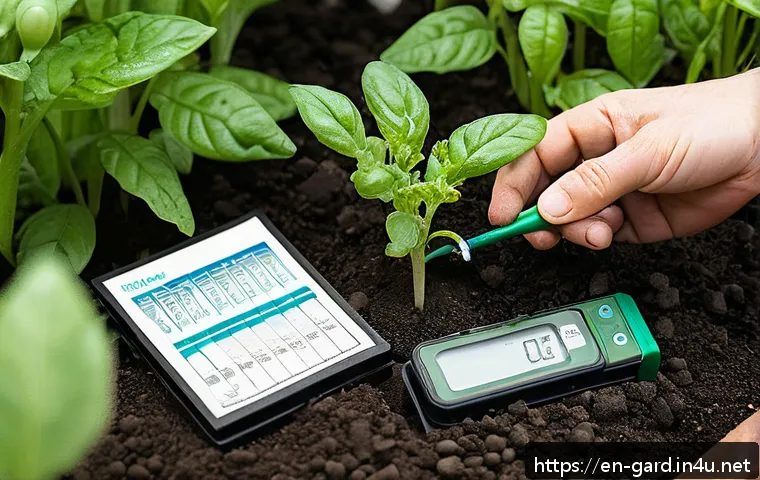
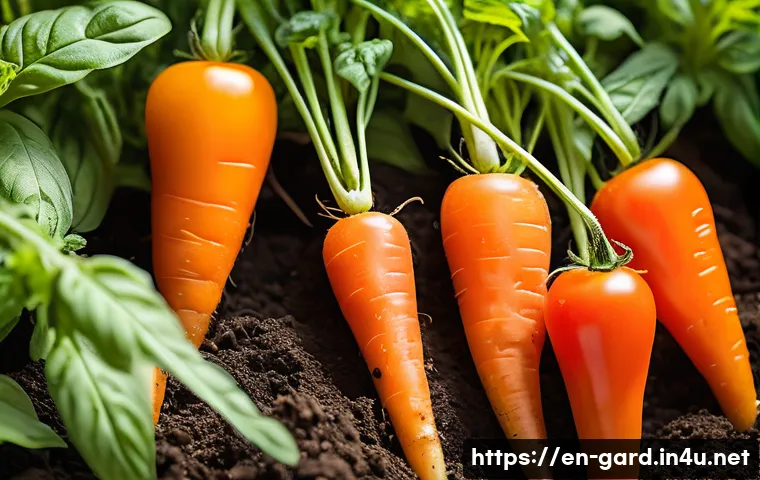
The pH level also plays a huge role; some plants prefer acidic soil, others alkaline. I remember picking up a simple soil test kit from my local garden center after a particularly pathetic carrot crop.
The results were eye-opening! My soil was much too acidic for most of what I wanted to grow. It felt a bit like getting a report card, but an incredibly helpful one.
You can grab these kits relatively cheaply, and they’ll tell you exactly what you’re working with, helping you avoid so much frustration down the line.
Knowing your soil’s composition and pH is like having a secret weapon in your gardening arsenal, empowering you to make informed decisions and give your plants exactly what they need to thrive.
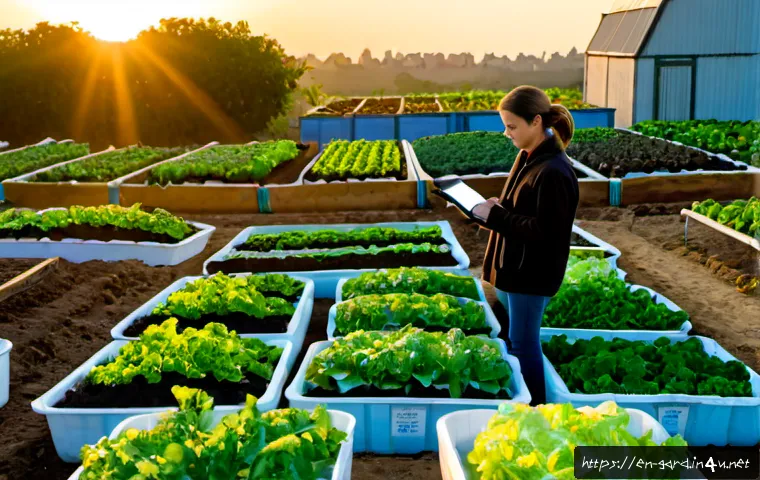
Building a Better Bed: The Power of Raised Garden Beds
For those of us with less-than-ideal native soil, or even just for the sheer convenience, raised garden beds are an absolute game-changer. When I first moved into my current home, the soil was a compacted mess from previous construction – basically, concrete disguised as dirt.
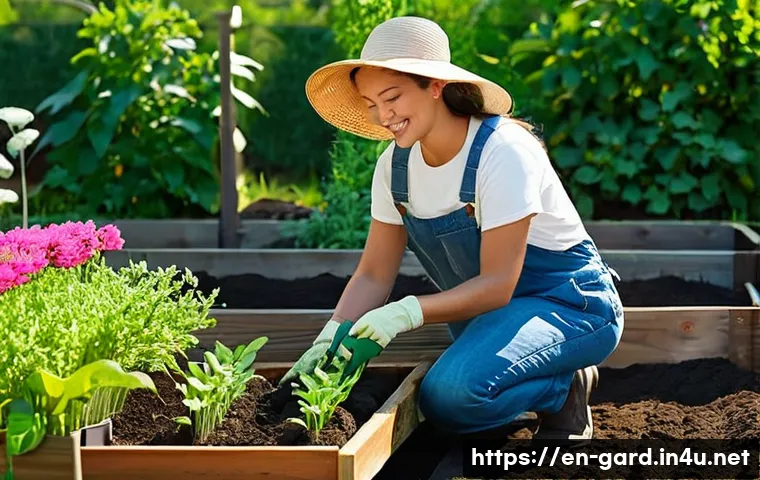
Digging anything was an Olympic sport! That’s when I decided to invest in a few raised beds, and it was one of the best gardening decisions I’ve ever made.
Not only do they look incredibly neat and tidy, but they give you complete control over your soil. You fill them with a perfect blend of nutrient-rich topsoil, compost, and other amendments, creating an ideal environment for your plants right from the start.
Plus, they offer better drainage, warm up faster in the spring, and let’s be honest, they save your back a ton of pain from bending over! My knees definitely thank me for the elevated gardening experience.
If you’re short on space, raised beds are also fantastic for urban environments, turning patios or small balconies into productive mini-farms. It’s an upfront investment, sure, but the long-term benefits in terms of healthier plants and easier gardening are absolutely priceless.
Your Green Dream Team: Choosing the Right Veggies for Beginners
Stepping into a seed aisle for the first time can feel like being let loose in a candy store – so many exciting options, but where do you even begin? When I first started, I wanted to grow absolutely everything under the sun, from exotic heirloom tomatoes to giant pumpkins.
The reality, of course, was a bit more humbling. My first garden was a chaotic mix of plants that either hated each other or demanded way more attention than a beginner could realistically give.
It was a learning curve, for sure! That’s why I always tell new gardeners to start with a “green dream team” of easy-to-grow vegetables. These are the hardy, forgiving types that practically high-five you for just getting them in the ground.
Think about the joy of actually harvesting something delicious in your first season – that feeling is what hooks you! I’ve found that success in the beginning fuels the passion to keep going, even when you inevitably face a few challenges.
Don’t be afraid to keep it simple, embrace the basics, and build your confidence before tackling the more finicky plants.
Top Picks for Your First Vegetable Patch
If you’re wondering where to start, I’ve got a list of my go-to “beginner-friendly” veggies that have never let me down. These are the MVPs that thrive with minimal fuss and offer a generous bounty.
Lettuce and spinach, for example, are super quick to mature, and you can often harvest their outer leaves for a continuous supply. Radishes are another fantastic option; they pop up in just a few weeks and are incredibly satisfying to pull from the ground.
Bush beans are practically foolproof and give you a huge yield, while cherry tomatoes are generally more forgiving than their larger cousins and produce abundantly all season long.
I remember my first successful cherry tomato harvest – I ate them straight off the vine like candy! Herbs like basil, mint, and parsley are also fantastic for beginners, growing happily in pots or directly in the ground, and adding so much flavor to your cooking.
The key is to choose plants that align with your local climate and growing season, and always check the “days to maturity” on the seed packet. Starting with these reliable performers will give you a taste of success and boost your gardening confidence immensely.
| Vegetable | Why it’s Great for Beginners | Approx. Days to Harvest | Light Needs |
|---|---|---|---|
| Lettuce | Quick growth, cut-and-come-again harvesting, container-friendly | 30-60 days | Full sun to partial shade |
| Radishes | Extremely fast, satisfying to harvest, small space friendly | 20-30 days | Full sun |
| Bush Beans | High yield, relatively pest-resistant, easy to grow | 50-60 days | Full sun |
| Cherry Tomatoes | Prolific producers, more forgiving than large varieties, delicious | 60-80 days | Full sun (6-8 hours) |
| Zucchini | Very high yield (sometimes too high!), fast growing | 45-60 days | Full sun |
Understanding Companion Planting for a Healthier Garden
While it’s good to start with individual easy-growers, as you gain confidence, you’ll want to explore the magic of companion planting. This isn’t just some old wives’ tale; it’s a centuries-old practice rooted in observation and ecological wisdom.
The basic idea is that certain plants thrive when grown near each other, either by deterring pests, attracting beneficial insects, improving soil health, or even enhancing flavor.
I was skeptical at first, but after seeing the difference in my basil growing next to my tomatoes, I became a believer. My tomatoes seemed happier, and I noticed fewer hornworms!
It’s like building a little community in your garden where everyone helps each other out. For instance, planting marigolds around your vegetable beds can help repel nematodes and other harmful pests, while nasturtiums can act as a trap crop, luring aphids away from your precious produce.
Even simply planting herbs like dill or cilantro can attract helpful pollinators and predatory insects. It’s a natural, organic way to boost your garden’s health and reduce your reliance on chemical interventions.
Experimenting with companion planting adds another layer of joy and learning to your gardening journey, turning your patch into a thriving, symbiotic ecosystem.
Nurturing Growth: Mastering the Basics of Watering and Feeding
Once your little green hopefuls are in the ground, the real caretaking begins. And let me tell you, there’s an art to watering – it’s not just about hosing everything down until it looks wet!
I learned this pretty quickly after drowning a few of my first seedlings (oops!). Overwatering can be just as detrimental as underwatering, leading to root rot and fungal diseases.
It’s a delicate balance, and it truly feels like you’re learning to communicate with your plants. They have a way of telling you what they need if you just pay attention.
A drooping leaf might mean thirst, but a yellowing, soggy leaf could mean too much water. My personal rule of thumb is to check the soil moisture with my finger before watering.
If the top inch or two feels dry, it’s time for a drink. I also prefer deep, infrequent watering over shallow, daily sprinkles. This encourages the roots to grow deeper, making the plant more resilient to dry spells.
It’s like teaching your plants to be independent, rather than coddling them.
The Thirsty Truth: When and How to Water
Watering is probably the most frequent task in the garden, and getting it right can make all the difference between a flourishing bed and a struggling one.
I’ve found that early morning is usually the best time to water. This gives the plants plenty of time to absorb the moisture before the midday sun causes excessive evaporation, and it also allows the foliage to dry out before nightfall, which helps prevent fungal diseases.
Watering at the base of the plant, directly onto the soil, is much more effective than overhead watering, which can encourage leaf diseases and waste water through evaporation.
Drip irrigation or soaker hoses are fantastic for this, delivering water slowly and directly to the root zone. I splurged on a small drip system a few years ago, and it revolutionized my watering routine, saving me time and water.
It’s an investment that pays dividends in plant health and convenience. Remember, consistency is key, especially during fruiting and flowering stages, as irregular watering can lead to issues like blossom end rot in tomatoes.
Fueling Your Garden: Understanding Plant Nutrients
Just like us, plants need a balanced diet to grow strong and healthy. While good soil provides a lot, heavy feeders like corn or tomatoes will often need a little extra boost throughout the growing season.
This is where plant food, or fertilizer, comes in. When I first started, I was overwhelmed by all the numbers on the fertilizer bags (N-P-K ratios, anyone?).
But once I understood the basics – Nitrogen (N) for leafy growth, Phosphorus (P) for roots and flowers, and Potassium (K) for overall plant health – it became much clearer.
I personally lean towards organic options like compost tea, worm castings, or aged manure, as they not only feed the plants but also enrich the soil life.
I remember seeing a noticeable difference in the vibrancy of my lettuce and kale after incorporating a regular compost tea feed. It’s like giving them a nutritious smoothie!
Chemical fertilizers can provide a quick boost, but I’ve found that building healthy soil through organic matter is a more sustainable and ultimately more rewarding long-term strategy for a thriving garden.
Always read the instructions carefully, as too much fertilizer can burn your plants – trust me, I’ve made that mistake!
From Seed to Salad: The Unforgettable Joy of Nurturing Growth
There’s a unique kind of magic in watching a tiny seed transform into a vibrant plant that eventually graces your dinner table. It’s a journey that’s full of small wonders, from the first peek of a seedling emerging from the soil to the magnificent blossoming of a flower, hinting at the fruit to come.
I vividly remember the excitement, almost like a proud parent, when my very first tomato plant set its first tiny green fruit. It was a moment of pure triumph after weeks of careful tending.
This process isn’t just about growing food; it’s about connecting with nature, understanding cycles, and truly appreciating the effort that goes into every bite.
It teaches patience, resilience, and a deep respect for the natural world. Each stage brings its own set of learnings and joys, making the gardening experience so much more than just a hobby – it’s a living, breathing project that evolves with you.
The Thrill of Early Sprouts: Starting Seeds Indoors
While direct sowing seeds outdoors is certainly an option for many plants, there’s an undeniable advantage to starting certain vegetables indoors, especially if you live in a region with a shorter growing season.
This gives your plants a head start, allowing them to establish strong root systems before facing the elements. I started my first batch of pepper and eggplant seeds indoors under a simple grow light, and the satisfaction of seeing those tiny green shoots emerge was incredible.
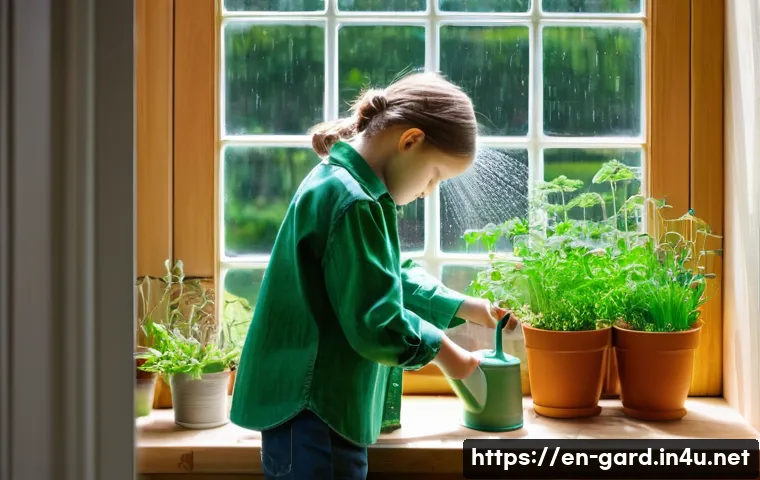
It felt like I was fast-forwarding spring! You don’t need fancy equipment to begin; a sunny windowsill, some seed-starting mix, and small pots or trays can work wonders.
The key is providing consistent warmth and moisture. Just be mindful not to overwater, as delicate seedlings are susceptible to damping-off disease. It’s a bit like a nursery for your future garden stars, giving them the best possible start in life before they brave the outdoors.
Hardening Off: Preparing for the Great Outdoors
Once your seedlings have grown into sturdy young plants, you can’t just plunk them directly into the garden. They’ve been living a sheltered, pampered life indoors, and the sudden shock of direct sun, wind, and fluctuating temperatures can be devastating.
This is where the crucial process of “hardening off” comes in. It’s essentially boot camp for your plants, gradually acclimating them to outdoor conditions.
I used to skip this step, eager to get my plants into the ground, and paid the price with stunted growth and sun-scorched leaves. Now, I’m a firm believer in taking it slow.
Over a week or two, I’ll take my seedlings outside for increasing periods each day, starting with a few hours in a shaded, sheltered spot, and gradually exposing them to more sun and longer durations.
It’s a bit like sending your kids off to college – you prepare them, give them the tools, and then slowly let them spread their wings. This careful transition ensures your plants are strong and ready to thrive once they’re permanently in their outdoor homes, minimizing transplant shock and maximizing their chances of a robust season.
Battling the Blight: Dealing with Pests and Problems in Your Patch
Let’s be honest, gardening isn’t always picture-perfect Instagram moments. There are going to be challenges, and one of the most common (and often frustrating) is dealing with uninvited guests – pests!
I remember my first major aphid infestation on my kale; it looked like someone had sprinkled green glitter all over the leaves. My initial reaction was panic, followed by a frantic search for the strongest chemical spray.
But over the years, I’ve learned that a more balanced, organic approach is not only better for the environment but also more sustainable for my garden’s long-term health.
It’s like being a detective, constantly observing and identifying the culprits before they cause too much damage. A healthy garden is a resilient garden, and building that resilience starts with understanding its natural ecosystem.
Don’t get discouraged when pests appear; view it as an opportunity to learn and hone your problem-solving skills as a gardener.
Spotting the Invaders: Early Detection is Key
The first step in any pest management strategy is regular observation. I make it a point to walk through my garden every morning with a cup of coffee, not just to admire my growing plants, but to inspect them closely.
Look under leaves, check stems, and examine any new growth for signs of trouble. Are there tiny holes appearing? Sticky residue?
Small insects congregating? Early detection can save you a world of hurt. I once caught a squash bug nymph invasion on my zucchini when it was just starting, and was able to hand-pick them off before they multiplied into a full-blown catastrophe.
If you wait until your plants are severely damaged, it’s often much harder to recover. Keeping a small garden journal can also be incredibly helpful, noting down what pests you see, when, and what methods you used to combat them.
This builds your own personal knowledge base and helps you anticipate future issues.
Organic Pest Control: Nature’s Solutions
When it comes to dealing with pests, my philosophy has shifted dramatically over the years to embrace organic and natural methods. My go-to is often simply hand-picking larger pests like tomato hornworms or squash bugs – it’s oddly satisfying!
For smaller infestations, a strong blast of water from the hose can dislodge aphids, or a homemade insecticidal soap spray (a mild dish soap diluted in water) can be very effective without harming beneficial insects or contaminating your produce.
I also actively encourage beneficial insects like ladybugs, lacewings, and parasitic wasps into my garden by planting flowers like dill, cilantro, and marigolds that they love.
These tiny heroes are nature’s own pest control, preying on the bad guys. Sometimes, a physical barrier like row covers can prevent flying insects from even reaching your plants.
It’s about creating a balanced ecosystem where nature does most of the heavy lifting. Trust me, harvesting a pest-free tomato that you know hasn’t been sprayed with harsh chemicals is an incredibly rewarding feeling.
The Sweet Reward: Harvesting Your Bounty and Savory Storage Tips
Ah, the moment we’ve all been waiting for! There’s truly nothing quite like walking into your garden and plucking a ripe, juicy tomato, a crisp cucumber, or a handful of fragrant herbs.
It’s the culmination of all your hard work, patience, and dedication. That first bite of homegrown produce is an unparalleled experience – the flavors are brighter, the textures are richer, and the satisfaction is immense.
It’s a feeling of accomplishment that makes every single challenge, every pest battle, every dropped seed, absolutely worth it. This isn’t just about food; it’s about nourishing your soul with the fruits of your labor.
I still get a little thrill with every harvest, no matter how small. It’s a constant reminder of nature’s generosity and the power of growing your own.
Knowing When to Pick: The Art of Timing
Harvesting at the right time is crucial for both flavor and future yields. Pick too early, and you miss out on peak taste; pick too late, and the produce might be overripe, woody, or even cause the plant to stop producing.
I learned the hard way that a giant zucchini isn’t necessarily a good zucchini – often, smaller ones are more tender and flavorful! For leafy greens like lettuce and spinach, I use a “cut-and-come-again” method, harvesting the outer leaves and allowing the inner ones to continue growing, which extends the harvest period significantly.
Tomatoes are best picked when they are fully colored but still firm, while cucumbers should be picked regularly when they are tender and bright green.
For beans, aim for snapping crispness. Each vegetable has its own unique cues, and over time, you’ll develop an intuitive sense of when your produce is at its prime.
It’s a skill you hone with practice, and every successful harvest builds that confidence.
Beyond the Harvest: Enjoying Your Garden’s Generosity
Once you’ve gathered your fresh produce, the next step is enjoying it! While some items, like leafy greens, are best eaten fresh within a day or two, others can be stored for longer to extend your enjoyment.
Learning proper storage techniques can significantly reduce food waste and allow you to savor your homegrown bounty long after the growing season ends.
I love making big batches of tomato sauce or salsa from my abundance of tomatoes, which I then freeze for use throughout the winter. Green beans can be blanched and frozen, while herbs can be dried, frozen in ice cube trays with olive oil, or used to make infused vinegars.
Root vegetables like carrots and potatoes can be stored in a cool, dark place for weeks or even months. It’s incredibly satisfying to pull out a bag of your own frozen sweet corn in January, bringing a taste of summer into the colder months.
Preserving your harvest is not just practical; it’s a wonderful way to honor the hard work you put into your garden and ensure that its gifts keep giving all year round.
Expanding Horizons: Venturing Beyond the Basic Garden Patch
Once you’ve mastered the fundamentals and enjoyed the sweet taste of success with your first garden, a whole new world of gardening possibilities opens up.
It’s like graduating from learning to ride a bike to exploring scenic trails – the basics are there, but the adventure gets much more exciting! I started with a small, traditional in-ground plot, but my curiosity quickly led me to explore other methods and expand my green ambitions.
This isn’t about throwing out what you’ve learned, but rather building upon it, adapting to new challenges, and discovering even more efficient and productive ways to grow.
The beauty of gardening is that there’s always something new to learn, a new technique to try, and a new plant to fall in love with. It’s a journey of continuous discovery.
Container Gardening: Small Spaces, Big Yields
For those with limited space, or even if you just want to experiment without committing to a full garden bed, container gardening is an absolute lifesaver.
I started with a few pots on my patio, growing herbs and a couple of cherry tomato plants, and was amazed at how much I could produce in such a small footprint.
It’s perfect for urban dwellers, apartment balconies, or even just adding a touch of edible beauty to your outdoor living areas. Almost any vegetable can be grown in a container, provided it has enough space for its roots and good drainage.
You just need to choose the right pot size, a quality potting mix, and be a bit more vigilant with watering, as containers tend to dry out faster. My biggest success has been with growing potatoes in large fabric grow bags – it makes harvesting incredibly easy, just tip them over!
It’s a fantastic way to extend your growing space and bring the joy of homegrown produce right to your doorstep, no matter how small your “yard” might be.
Embracing Permaculture Principles: Working with Nature
As I’ve gained more experience, I’ve become increasingly fascinated by permaculture principles – designing your garden to work *with* nature, rather than against it.
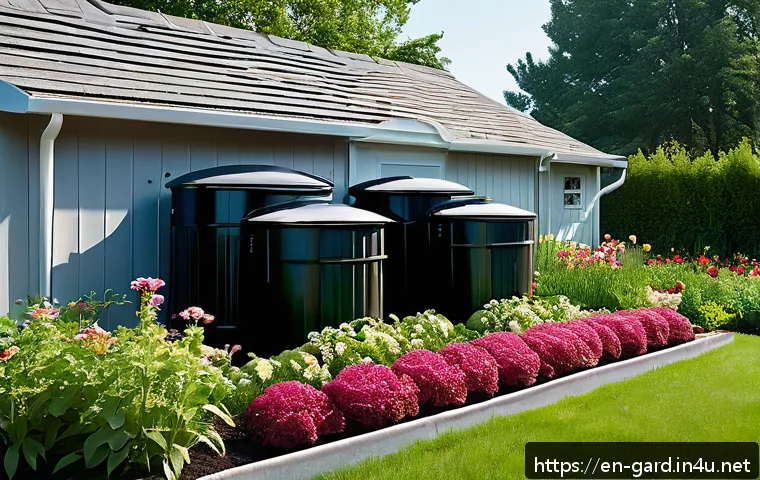
It’s about creating self-sustaining systems that mimic natural ecosystems, reducing waste, and building long-term soil health. This might sound intimidating, but it can start with simple concepts like planting perennials (plants that come back year after year), creating diverse plantings to attract beneficial insects, or implementing rain barrels to collect water.
I’ve started incorporating more native plants into my landscape, which not only look beautiful but also provide habitat and food for local wildlife, creating a more balanced and resilient garden environment.
It’s a philosophical shift that encourages observation and thoughtful design, making your garden not just a place for growing food, but a mini-ecosystem that thrives with less intervention from you.
It’s an incredibly rewarding journey of continuous learning and a truly sustainable way to garden.
Wrapping Things Up
And there you have it, fellow green thumb enthusiasts! What a journey it is, transforming a patch of earth into a vibrant, food-producing haven. Every single seedling you nurture, every ripe fruit you pluck, is a testament to your effort and a little miracle of nature. I truly hope that sharing my own ups and downs, my triumphs and my learning curves, has given you the confidence and the practical insights to dive into your own gardening adventure. Remember, it’s not about perfection; it’s about the process, the connection, and the incredible joy of growing something with your own hands. So, go on, get your hands dirty, and let the magic begin!
Useful Tidbits for Your Gardening Journey
1. Sun Mapping is Your Superpower: Before planting anything, spend a full day or even a week observing your garden’s sun exposure. Map out where the sun hits and for how long. This simple step will save you from future heartache and ensure your plants get the light they desperately crave.
2. Soil Testing Isn’t Just for Pros: A basic soil test kit is an inexpensive investment that provides invaluable information about your soil’s pH and nutrient levels. Knowing what your dirt needs will help you amend it correctly and prevent common plant problems from the get-go.
3. Start Small, Dream Big: Don’t try to grow everything in your first season. Choose a handful of easy-to-grow vegetables like lettuce, radishes, or bush beans. Success with these will build your confidence and give you the motivation to tackle more challenging crops later on.
4. Water Wisely, Not Wildly: Deep, infrequent watering is generally better than shallow daily sprinkles. Water at the base of your plants in the early morning to encourage deep root growth and prevent fungal diseases. Always check soil moisture with your finger before grabbing the hose.
5. Befriend Beneficial Bugs: Integrate companion planting and attract helpful insects like ladybugs and lacewings into your garden. These natural pest controllers can significantly reduce your reliance on chemical sprays, fostering a healthier, more balanced ecosystem.
Key Takeaways for Your Flourishing Garden
Gardening, at its heart, is a deeply rewarding conversation with nature. From understanding the essential dynamics of sunlight and soil that will dictate your garden’s potential, to meticulously choosing those first easy-to-grow vegetables, every step is a learning opportunity. My biggest lesson has always been the importance of patience and observation; your plants will tell you what they need if you just take the time to listen. We also delved into the nurturing side, highlighting that consistent, thoughtful watering and appropriate feeding are not just tasks, but acts of care that define a plant’s vitality. Don’t forget the inevitable dance with pests – approach it with an organic mindset, as early detection and natural solutions are your best allies. And finally, the sheer joy of harvest, coupled with smart storage, extends the gratification of your hard work. Remember, whether you’re expanding into container gardening or embracing permaculture, the journey is continuous. Keep experimenting, keep learning, and most importantly, keep enjoying every single moment of your green adventure. Your garden is a living testament to your connection with the earth, and every success, big or small, enriches your life in profound ways.
Frequently Asked Questions (FAQ) 📖
Q: What’s the absolute first step for someone who’s never gardened before but is totally itching to grow their own food?
A: Oh, I totally get that excitement! I remember standing in my backyard feeling a mix of eagerness and a little overwhelm, wondering where on earth to begin.
My best advice for that very first step? Start small, but start with a plan! Don’t try to transform your entire yard into a farm overnight.
Pick a small, manageable spot – maybe a sunny corner of your patio for a few pots, or a raised bed that’s just 4×4 feet. Before you even touch a shovel, observe that spot for a few days.
How much sun does it actually get? Most veggies need at least 6-8 hours of direct sunlight. You’d be surprised how shade patterns change throughout the day!
Once you’ve picked your prime sun-drenched location, think about what you actually want to eat. Seriously, there’s no point growing something you’ll never touch.
For me, my first successful crop was cherry tomatoes, and that first bite was pure magic. This planning stage, even if it feels a little boring, truly sets you up for success and prevents that all-too-common beginner burnout.
Trust me, a little preparation here saves a lot of heartache (and wasted seeds!) down the line.
Q: Which vegetables are truly foolproof for a first-timer, so I don’t get discouraged?
A: This is such a brilliant question because nothing kills the gardening bug faster than a crop failure! From my own trial-and-error days, I’ve found a few absolute champions for beginners.
First off, lettuce and other leafy greens like spinach and Swiss chard are incredibly forgiving. They grow relatively quickly, often giving you multiple harvests, and they don’t demand a ton of space.
I remember feeling like a superhero when I harvested my first homegrown salad – it just tastes so much better! Another absolute winner is radishes. Talk about instant gratification!
You can go from seed to snack in under a month. They’re super hardy and tolerate a bit of neglect. And honestly, for a real confidence booster, bush beans are fantastic.
They pretty much grow themselves, produce abundantly, and are delicious picked fresh. I still get a kick out of watching bean plants magically sprout overnight.
Avoid anything super finicky like artichokes or celery for your first rodeo; stick with these easy-peasy veggies, and you’ll be well on your way to a thriving, delicious harvest that keeps you coming back for more.
Q: How can I make sure my plants stay healthy and avoid those annoying pests without using harsh chemicals?
A: This is a question close to my heart because part of the joy of homegrown food is knowing exactly what went into it (and what didn’t!). Keeping your garden naturally healthy starts with the soil.
Think of your soil as the plants’ immune system. If it’s rich in organic matter, teeming with beneficial microbes, your plants will be stronger and more resilient to pests and diseases.
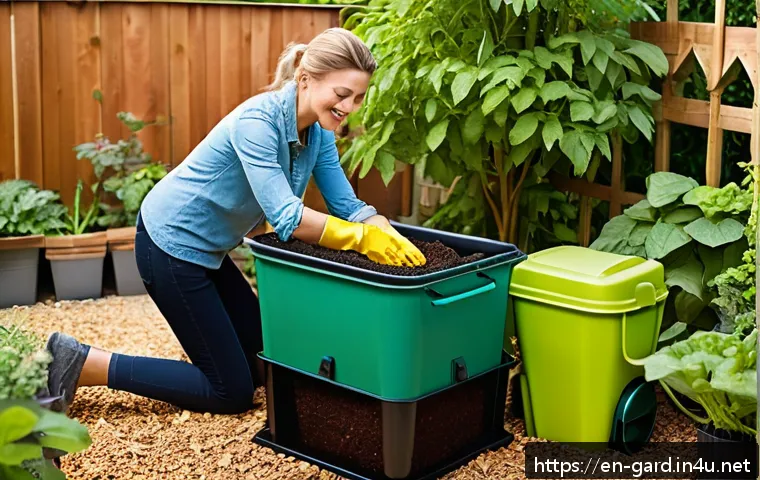
I swear by adding good quality compost every season – it’s like a superfood for your garden! Beyond that, prevention is key. Companion planting is a fantastic natural strategy; for example, planting marigolds near tomatoes can deter nematodes, and basil can help keep flies away.
I’ve seen this work wonders in my own beds! Regularly checking your plants is also crucial. A quick daily stroll through the garden allows you to spot potential issues early.
If you see a few aphids, a strong spray of water or a dab of insecticidal soap (which is usually just diluted dish soap) can often take care of it before it becomes an infestation.
And don’t forget about inviting beneficial insects! Ladybugs are my absolute favorite garden helpers – they’re adorable aphid-eaters. Creating a diverse garden environment with flowers and different plant types will attract these good guys, turning your garden into a natural, self-regulating ecosystem.
It’s all about working with nature, not against it, and the results are incredibly rewarding.