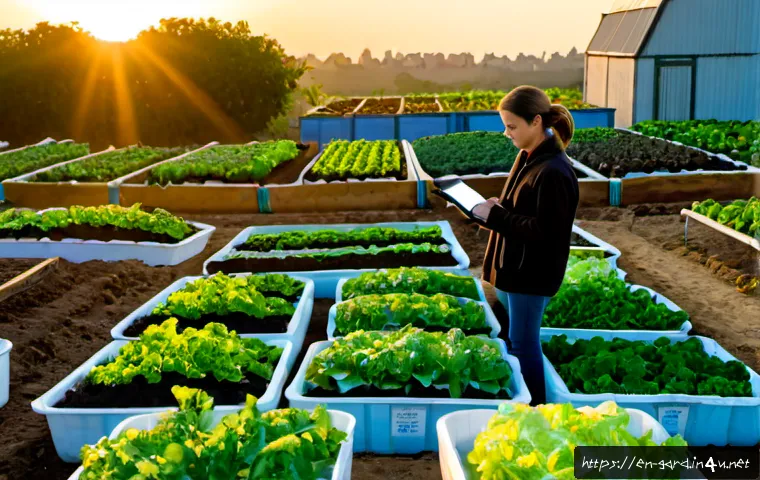
With the growing excitement around sustainable living and homegrown produce, many garden enthusiasts are seeking smarter ways to nurture their vegetable patches.
Imagine having a system that waters your plants automatically, saving you time and ensuring consistent care even on your busiest days. In this post, we’ll explore how to build a simple yet effective automated watering system tailored for thriving vegetable gardens.
Whether you’re a seasoned gardener or just starting out, this guide will help you achieve lush growth with minimal effort. Let’s dive into a hands-on approach that combines technology and nature for effortless garden success.
Choosing the Right Components for Your Automated Garden Watering
Picking the Perfect Water Source and Pump
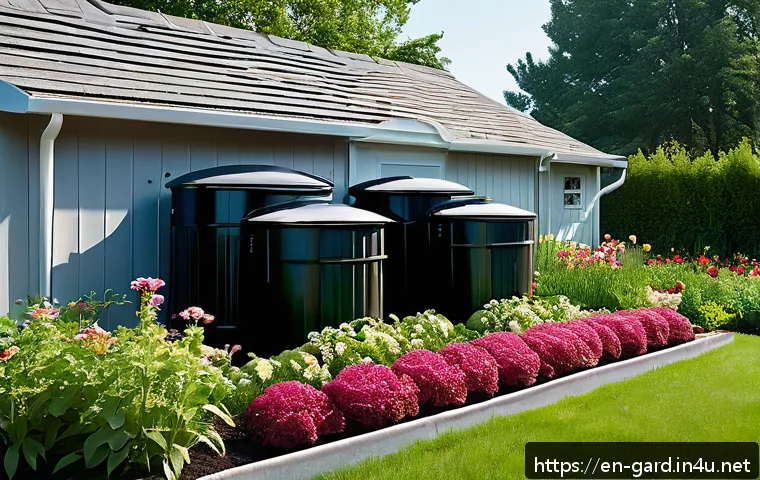
When setting up an automated watering system, the water source and pump are the heart of the operation. If you have a garden hose hookup nearby, that’s a straightforward choice, but sometimes rain barrels or large water tanks offer a sustainable alternative.
I found that using a submersible pump designed for garden use balances power and quiet operation really well. It’s important to match the pump’s flow rate with the size of your garden.
For a small vegetable patch, a pump delivering around 2 gallons per minute is usually sufficient, but larger gardens might require something more robust to ensure even coverage.
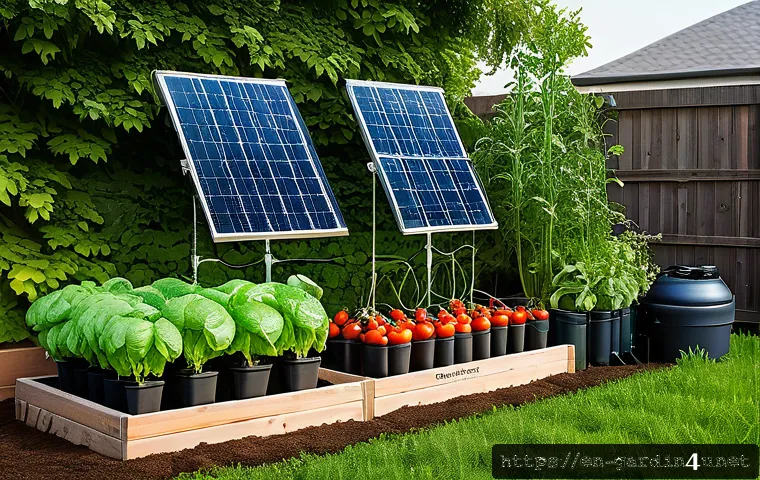
The pump’s energy source also matters: electric pumps are reliable but consider solar-powered options if you want to keep your setup eco-friendly and off-grid.
Selecting Timers and Controllers That Fit Your Needs
Timers and controllers bring intelligence to your watering routine. Basic mechanical timers work fine if you want simplicity, but I personally prefer digital timers that let you program multiple watering cycles throughout the day.
Some models even connect to your smartphone, allowing you to adjust schedules based on weather forecasts or garden needs. When I first experimented with a Wi-Fi-enabled controller, the convenience of managing watering remotely was a game changer, especially during busy weeks.
For vegetable gardens, it’s best to water early morning or late evening to minimize evaporation, so make sure your timer supports flexible programming.
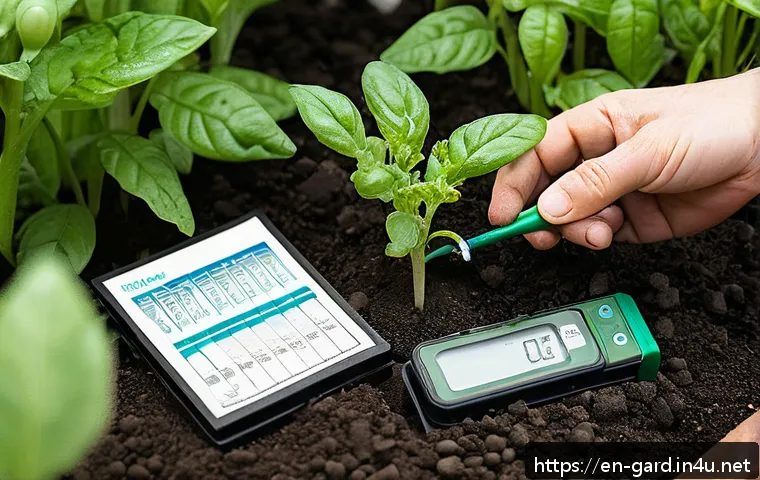
Also, integrating soil moisture sensors can prevent overwatering — a feature I can’t recommend enough after seeing my plants thrive without soggy roots.
Choosing the Right Tubing and Emitters
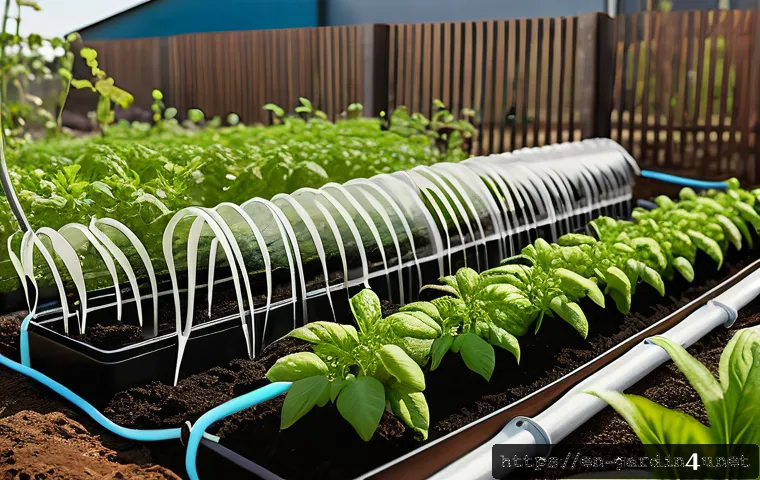
Once your water source and control system are set, the next step is delivering water efficiently. Drip irrigation tubing is the most common choice for vegetable gardens because it directs water right to the roots, reducing waste and disease risk.
I opted for 1/4 inch tubing with adjustable emitters, which allowed me to customize the flow for different plant types. For example, tomatoes need more water than carrots, so I set emitters to release a higher flow near those plants.
When laying out the tubing, avoid sharp bends or kinks to keep water flowing smoothly. Using stakes to secure the tubing near plant bases prevents accidental displacement, which I learned is crucial after a few windy days disrupted my setup.
Planning Your Watering Schedule for Maximum Efficiency
Understanding Plant Water Needs Throughout the Growth Cycle
Vegetables have varying water demands depending on their growth stage. Seedlings require gentle, frequent watering to establish roots, while mature plants can handle deeper, less frequent watering sessions.
From personal experience, I noticed my lettuce and spinach needed daily moisture during hot spells, but once established, watering every other day sufficed.
Tomatoes and peppers, on the other hand, benefit from deep watering twice a week to encourage strong root systems and juicy fruits. It helps to group plants with similar water needs together, so your automated system can be programmed more effectively.
This also reduces the chance of under or overwatering, which can stunt growth or invite pests.
Timing Your Watering to Avoid Evaporation Losses
One of the biggest mistakes I made early on was watering at midday when the sun was blazing. The water evaporated quickly, and my plants didn’t get the moisture they needed.
Early mornings or late evenings are ideal because the temperature is cooler and the soil absorbs water better. Automated timers make it easy to stick to these times without having to remember daily.
Plus, watering at night can help prevent fungal diseases by allowing leaves to dry in the morning sun. If your system supports it, syncing watering schedules with local weather data is a smart move to skip watering on rainy days, saving both water and money.
Adjusting Schedules Seasonally
Plants don’t have the same watering needs year-round. During spring and summer, growth is vigorous and water demand is high. Come fall, as growth slows and temperatures drop, watering should be reduced accordingly.
I keep a simple calendar note to review and adjust my watering plan every month. Automated systems with smart controllers can also adapt schedules automatically, which is a huge time saver.
For winter, in regions without frost, watering might be minimal but still necessary for some hardy greens. Tracking seasonal changes in your garden’s microclimate and soil moisture helps keep your plants happy and healthy throughout the year.
Setting Up and Installing Your Automated Watering System
Mapping Out Your Garden for Optimal Coverage
Before you start drilling holes or laying tubing, take some time to map your garden layout. I like to sketch my vegetable rows and note where different plants are located.
This step ensures you place emitters exactly where water is needed most. Consider plant spacing and growth habits — sprawling plants like squash may require emitters placed further apart, while dense beds like herbs might need more closely spaced watering points.
Mapping also helps in calculating tubing length and the number of emitters required, preventing waste and reducing costs. Remember, a well-planned layout means less troubleshooting later on.
Step-by-Step Installation Tips
Installing the system is easier than it sounds if you follow a simple sequence. Start by connecting your pump to the water source and testing it briefly to check pressure and flow.
Next, run the main tubing through your garden, securing it with stakes to prevent movement. Attach emitters at planned intervals, then connect them to the main tubing using connectors or barbs.
I always recommend flushing the tubing before attaching emitters to clear any debris that might clog the system. Once assembled, test the entire setup by running a watering cycle and checking each emitter for consistent water output.
Adjust emitter flow rates if needed. Finally, connect your timer or controller, program your schedule, and you’re good to go.
Maintenance and Troubleshooting Tips
Keeping your automated watering system in top shape is key to long-term success. Check emitters regularly for clogs — I found that soaking them in vinegar helps dissolve mineral buildup.
Inspect tubing for cracks or leaks, especially after harsh weather. At the start and end of each season, clean the pump filter and test the timer batteries or power source.
If you notice uneven watering, it’s often due to pressure drops or blocked emitters, so troubleshoot by isolating sections of the tubing. Keeping a simple maintenance log helps me stay on top of these tasks without feeling overwhelmed.
Comparing Popular Watering Methods for Vegetable Gardens
Drip Irrigation vs. Soaker Hoses
Drip irrigation offers precise water delivery and flexibility in placement, which I prefer for vegetable gardens where plant spacing varies. Soaker hoses are easier to install but can waste water if they’re not carefully positioned.
With drip systems, you can adjust emitter flow for each plant, which helps conserve water and promotes healthier root growth. Soaker hoses tend to saturate the surface more, which might encourage weeds or fungal problems if not monitored closely.
Sprinklers and Their Place in Garden Watering
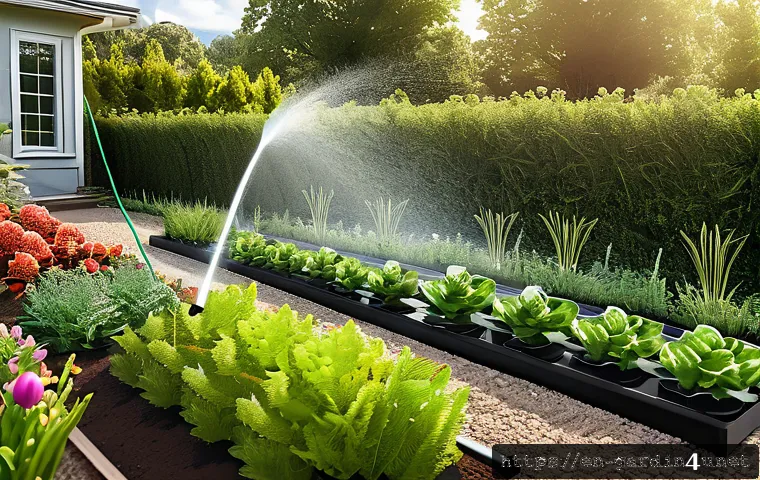
While sprinklers can cover large areas quickly, they’re less water-efficient for vegetable gardens. The spray often wets leaves and stems, increasing the risk of disease.
I tend to reserve sprinklers for larger flower beds or lawns rather than food crops. However, for quick watering during dry spells, they can be useful if timed carefully to avoid evaporation losses.
Manual Watering and Automation Trade-offs
Manual watering gives you control and immediate feedback, but it’s time-consuming and inconsistent, especially if you get busy or forget. Automated systems free you from daily chores and ensure plants get steady care.
That said, automated watering should complement regular garden checks, not replace them. I still walk my garden daily to monitor plant health and soil moisture, adjusting the system as needed.
| Watering Method | Pros | Cons | Best Use Case |
|---|---|---|---|
| Drip Irrigation | Precise watering, water-efficient, customizable | Initial setup cost and complexity | Vegetable gardens with varied plant spacing |
| Soaker Hose | Easy to install, inexpensive | Less precise, potential water waste | Compact garden beds with uniform plants |
| Sprinklers | Quick coverage of large areas | Water waste, disease risk on leaves | Lawns or large flower beds |
| Manual Watering | Complete control, immediate feedback | Time-consuming, inconsistent | Small gardens or supplemental watering |
Enhancing Your System with Smart Technology
Incorporating Soil Moisture Sensors
Adding soil moisture sensors to your automated system takes watering precision to the next level. These sensors measure how much water is in the soil and send data to your controller, which then decides whether watering is necessary.
From personal experience, this technology prevents overwatering and conserves water, especially during unexpected rain. Sensors come in wired or wireless varieties, with wireless being easier to install but sometimes less reliable in large gardens.
When I installed moisture sensors, I noticed my plants were healthier and my water bills dropped noticeably.
Weather-Based Controllers and Integration
Weather-based controllers adjust your watering schedule based on real-time local weather data, including rainfall, temperature, and humidity. Integrating these controllers with your smartphone or home assistant devices allows for effortless monitoring and control.
I found that syncing my watering with weather forecasts meant I never had to worry about turning off the system during rainstorms. This not only saves water but also prevents soggy soil conditions that can harm vegetables.
Remote Monitoring and Alerts
Modern controllers often feature apps that send alerts if something goes wrong — like a pump failure or low water level in your reservoir. This remote monitoring capability is a lifesaver, especially if you travel or have a busy schedule.
I remember a time when my pump stopped working overnight, but thanks to an alert on my phone, I fixed it before my plants showed signs of stress. Setting up these alerts requires some initial tech familiarity, but the peace of mind is well worth it.
Optimizing Water Usage for Sustainability and Cost Savings
Water Conservation Tips for Automated Systems
Automated watering systems are great, but they can still waste water if not set up carefully. Using drip irrigation combined with soil moisture sensors is the best way to minimize waste.
Mulching your vegetable beds helps retain moisture, reducing the frequency and volume of watering needed. I also recommend scheduling shorter, more frequent watering sessions early in the day to maximize absorption and reduce runoff.
Regularly checking for leaks in your system is another simple way to save water and money.
Calculating Water Needs and Costs
Understanding how much water your garden uses helps optimize both watering and budget. On average, a vegetable garden might need 1 to 2 inches of water per week, which translates to roughly 0.62 gallons per square foot.
By tracking your system’s flow rate and run time, you can estimate weekly water consumption and related costs. For example, if your pump uses 3 gallons per minute and runs 20 minutes daily, that’s 420 gallons per week.
Knowing your local water rates lets you calculate the expense and adjust accordingly. This kind of tracking helped me trim down my watering time by 25%, saving noticeable money annually.
Choosing Eco-Friendly Power Sources
If you want your automated system to be truly sustainable, consider powering pumps and controllers with renewable energy. Solar panels are a popular choice for garden setups, especially in sunny climates.
They reduce reliance on grid electricity and can keep your system running during outages. I installed a small solar panel with a battery backup, and it has kept my garden watered reliably with zero electricity bills for over a year.
This setup requires some upfront investment and planning but pays off in long-term savings and environmental benefits.
In Conclusion
Setting up an automated garden watering system can transform your gardening experience by saving time, conserving water, and promoting healthier plants. Choosing the right components tailored to your garden’s needs is essential for efficiency and longevity. With a bit of planning and maintenance, you’ll enjoy the convenience of consistent watering and the satisfaction of a thriving vegetable garden all season long.
Useful Tips to Remember
1. Match your pump’s flow rate to the size of your garden to avoid under or overwatering.
2. Use digital timers or smart controllers to customize watering schedules based on weather and plant needs.
3. Opt for drip irrigation with adjustable emitters to deliver water precisely where it’s needed.
4. Water early in the morning or late in the evening to reduce evaporation and prevent disease.
5. Regularly check and maintain your system to ensure reliable operation and avoid costly repairs.
Key Takeaways
Choosing the right water source and pump, along with smart controllers and efficient tubing, lays the foundation for a successful automated watering system. Tailoring your watering schedule to plant growth stages and seasonal changes maximizes water use and plant health. Incorporating smart technology like moisture sensors and weather-based controllers enhances precision and convenience. Regular maintenance prevents clogs and leaks, ensuring consistent performance. Ultimately, an automated system not only saves time and effort but also supports sustainable gardening practices.
Frequently Asked Questions (FAQ) 📖
Q: How difficult is it to set up an automated watering system for a vegetable garden?
A: Setting up an automated watering system can be surprisingly straightforward, even if you’re not a tech expert. Many kits come with clear instructions and require only basic tools.
Personally, when I first installed one, it took me about an hour to get everything up and running. The key is to start small—maybe just a few plants—and expand as you get comfortable.
Plus, once it’s set up, it saves you loads of time and ensures your veggies get consistent watering, which really boosts growth.
Q: Can an automated watering system help prevent overwatering or underwatering?
A: Absolutely! One of the biggest advantages of an automated system is that it delivers the right amount of water at the right times. Many setups include moisture sensors or timers, which means the system won’t water when it’s not needed, reducing the risk of overwatering.
From my experience, this precision not only keeps plants healthier but also conserves water—a win-win for your garden and the environment.
Q: What are the best types of automated watering systems for vegetable gardens?
A: Drip irrigation and soaker hoses are among the best options for vegetable gardens because they deliver water directly to the soil and roots, minimizing waste.
I’ve personally found drip systems to be very effective and easy to customize for different plant types. For smaller gardens, a timer-based sprinkler system can also work well.
The choice depends on your garden size, budget, and how much control you want over watering schedules.