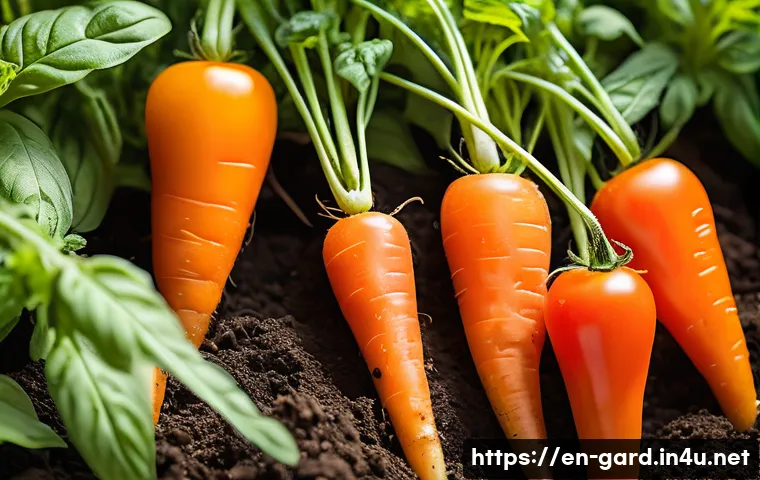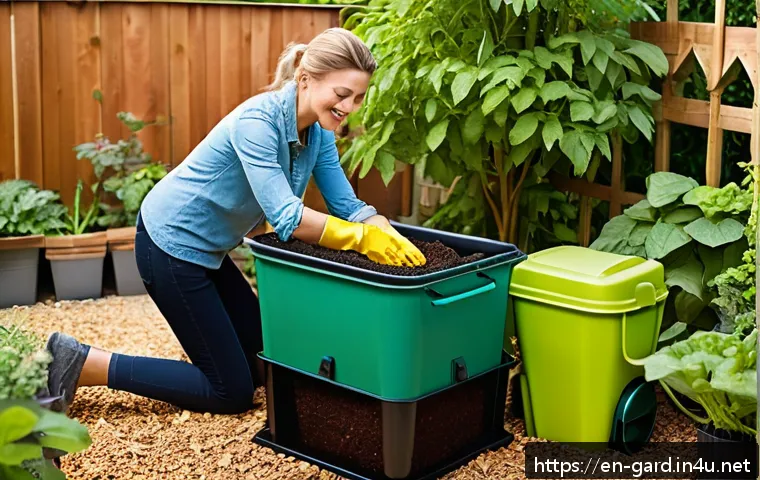
Lately, more people are embracing sustainable living, making eco-friendly composting a hot topic for backyard gardeners. If you’ve ever wondered how to turn kitchen scraps and yard waste into nutrient-rich soil, you’re in the right place.
Creating your own compost not only reduces landfill waste but also boosts your garden’s health naturally. I’ve personally seen how homemade compost can transform even the most stubborn garden patches into thriving green spaces.
Stick around as we dive into simple, practical steps to unlock the secrets of eco-friendly composting that anyone can do at home. Your garden—and the planet—will thank you!
Getting Started with Composting at Home
Choosing the Right Compost Bin for Your Space
When I first started composting, picking the right bin was a game changer. Depending on your backyard size or even apartment balcony, you can opt for a simple open pile, a tumbler, or a closed bin.
Tumblers speed up the process since you can easily turn the materials, which is great if you’re impatient like me. Closed bins help keep pests away and contain any odors, making them perfect for urban settings.
Personally, I found a medium-sized tumbler perfect for my small garden—it’s easy to rotate and keeps everything neat. Remember, the key is accessibility; if your compost setup is a hassle to use, you’re less likely to keep it up long-term.
Gathering and Sorting Your Compost Materials
One thing I learned quickly is that not all scraps are created equal. Compost thrives on a balance of “greens” (nitrogen-rich materials) like fruit and veggie scraps, coffee grounds, and fresh grass clippings, and “browns” (carbon-rich materials) such as dried leaves, cardboard, and paper.
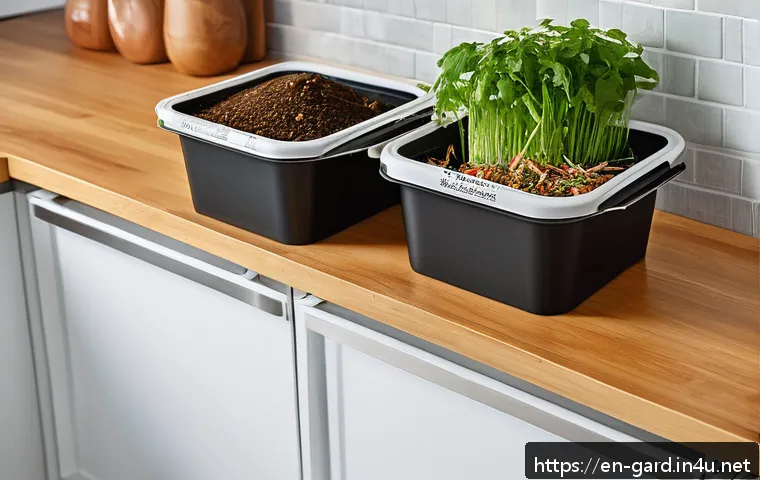
I tend to keep two separate containers in my kitchen: one for green scraps and another for brown items like egg cartons or shredded paper. This sorting makes it easier to maintain the proper mix later on.
Also, avoid adding meat, dairy, or oily foods—they can attract unwanted critters and cause smells.
Maintaining Moisture and Aeration for Optimal Results
I can’t stress enough how important moisture and air are for compost health. Think of your compost pile like a wrung-out sponge—it should feel damp but not soggy.
If it dries out, decomposition slows down dramatically. On the flip side, too much water can create a stinky, anaerobic mess. Turning your pile every few days introduces oxygen, which helps break down materials faster and prevents foul odors.
I usually grab a garden fork or compost aerator tool, and it’s surprisingly satisfying to see the fluffy, rich soil forming underneath after a few weeks.
Understanding the Science Behind Composting
The Role of Microorganisms in Decomposition
What fascinates me the most is how tiny microbes work tirelessly to turn kitchen scraps into garden gold. Bacteria, fungi, and other decomposers break down organic matter into humus, which enriches the soil.
These microorganisms thrive when conditions are just right—adequate moisture, oxygen, and a balanced carbon-to-nitrogen ratio. From my experience, when the pile gets too cold or too dry, microbial activity slows, and the composting process drags.
Keeping the pile warm and moist encourages microbial populations to flourish, speeding up decomposition.
How Carbon and Nitrogen Impact Compost Quality
Getting the balance of carbon (browns) and nitrogen (greens) is a bit like baking the perfect cake; too much of one and the process either slows or smells bad.
From trial and error, I’ve found a rough ratio of 30 parts carbon to 1 part nitrogen works well. This means plenty of dry leaves, shredded paper, or sawdust paired with fresh vegetable scraps or grass clippings.
This balance feeds microbes the nutrients they need to break down materials efficiently without creating excess ammonia or foul odors.
The Importance of Temperature in Composting
Temperature is a handy indicator of how active your compost is. When the pile heats up to around 130-160°F, it means microbes are hard at work breaking down materials.
I check the temperature by sticking a compost thermometer in the middle of my pile. If it’s too cool, I add more green scraps or turn the pile to introduce oxygen.
When it gets too hot, I mix in browns to cool things down. Maintaining this balance not only speeds up composting but also kills off weed seeds and harmful pathogens.
Common Composting Mistakes to Avoid
Overwatering and Underwatering Your Pile
At first, I was paranoid about drying out my compost, so I kept adding water daily—big mistake. Overwatering creates soggy, anaerobic conditions that slow decomposition and cause bad smells.
On the other hand, if your pile is too dry, microbial activity grinds to a halt. The trick I learned is to treat it like a damp sponge; if it’s dry, sprinkle some water, but don’t drench it.
I also cover my compost bin with a tarp during heavy rain to prevent excess moisture buildup.
Adding the Wrong Materials
Throwing everything in your compost bin might seem efficient, but it can backfire. Meat, dairy, oily leftovers, and pet waste can attract rodents and produce foul odors.
Also, avoid adding diseased plants or invasive weeds, which can survive the composting process and spread. I make it a habit to double-check my scraps before tossing them in, which saves me from unpleasant surprises later on.
Neglecting to Turn the Pile
Composting isn’t a “set it and forget it” project. Early on, I underestimated the importance of turning the pile regularly to introduce oxygen. Leaving it untouched leads to slow decomposition and unpleasant smells due to anaerobic bacteria taking over.
Using a garden fork or a compost aerator every few days really makes a difference, speeding up the process and producing fluffy, nutrient-rich soil faster.
Maximizing Your Compost’s Benefits for Your Garden
How to Use Finished Compost Effectively
Once your compost turns dark, crumbly, and earthy-smelling, it’s ready to feed your plants. I usually mix it into garden beds before planting or sprinkle it around existing plants as mulch.
It helps retain moisture, suppress weeds, and improves soil texture. I noticed my tomato plants and herbs became more vibrant and productive after adding homemade compost.
Plus, it reduces the need for synthetic fertilizers, saving money and reducing chemical use.
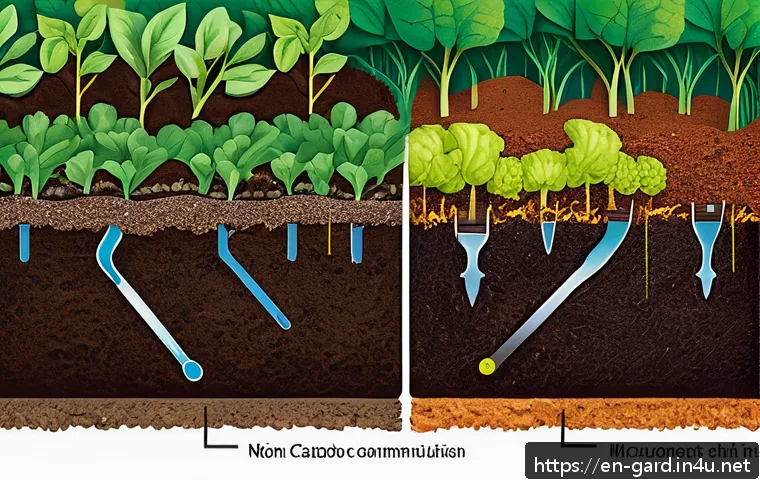
Compost Tea: A Liquid Gold for Plants
If you want to give your plants an extra boost, compost tea is a fantastic option. It’s basically a nutrient-rich liquid made by steeping finished compost in water for a day or two.
I’ve used it as a foliar spray and soil drench with great results—plants seem healthier and more resistant to pests. Making compost tea is a simple way to stretch your compost’s benefits and provide a gentle nutrient dose throughout the growing season.
Tips for Storing and Protecting Finished Compost
Sometimes, you end up with more compost than you can use immediately. I learned to store mine in a breathable container or a covered pile to keep it from drying out or washing away in rain.
Avoid sealing it in plastic bags because it needs air to stay alive and effective. If you’re not using it right away, just keep it moist and aerated, and it will be ready when your garden calls for it.
How to Troubleshoot Common Composting Issues
Dealing with Unpleasant Odors
A smelly compost pile is a red flag that something’s off. Usually, it means the pile is too wet or has too many green materials. When I faced this, I added a generous layer of brown materials like shredded newspaper or dry leaves and turned the pile thoroughly.
That usually cleared up the smell quickly. Also, covering the compost with a breathable lid or tarp can help control odors without suffocating the microbes.
What to Do if Your Compost Isn’t Heating Up
If your pile stays cold and inactive, it’s a sign the microbes aren’t getting what they need. I check moisture levels, add more greens for nitrogen, and turn it to introduce oxygen.
Sometimes, breaking up the pile into smaller sections helps jumpstart the process. Patience is key here—sometimes it takes a few days to see a temperature rise, but persistence pays off.
Preventing Pest Problems
Pests like raccoons, rodents, and flies can be a nuisance. I avoid this by not adding meat or dairy and using bins with secure lids or mesh that keeps critters out.
Also, burying food scraps beneath a few inches of browns minimizes smells that attract pests. In my experience, a well-maintained, balanced compost pile rarely invites unwelcome visitors.
Comparing Composting Methods for Different Lifestyles
Traditional Pile Composting vs. Tumbler Systems
Traditional compost piles are great if you have space and patience. They require manual turning with a pitchfork, which I found to be a decent workout!
Tumblers, on the other hand, are compact and make mixing effortless—just spin the drum a few times. I switched to a tumbler because of my limited backyard and time constraints, and it sped up the process significantly.
Indoor Vermicomposting for Apartment Dwellers
For those without outdoor space, vermicomposting using worms is a fantastic option. I tried a small worm bin indoors, and it’s surprisingly neat and odor-free when managed properly.
Worms break down food scraps quickly, producing nutrient-rich castings that are amazing for houseplants. It’s a bit of a learning curve, but very rewarding once you get the hang of it.
Community Composting Programs
If DIY composting isn’t feasible, many cities offer community compost drop-off points or neighborhood programs. I participated in one last year and loved how easy it was to contribute to waste reduction while supporting local gardens.
These programs often provide resources and tips, making composting accessible even if you lack space or time.
| Compost Material | Category | Role in Compost | Examples |
|---|---|---|---|
| Greens | Nitrogen-rich | Provide protein for microbes, speed decomposition | Fruit & vegetable scraps, coffee grounds, fresh grass clippings |
| Browns | Carbon-rich | Provide energy and structure, balance moisture | Dry leaves, straw, cardboard, shredded paper |
| Materials to Avoid | Not recommended | Attract pests or cause odors | Meat, dairy, oils, pet waste, diseased plants |
Wrapping Up
Composting at home is a rewarding way to reduce waste and nourish your garden naturally. With the right setup and a bit of attention, anyone can turn kitchen scraps into rich soil. Remember, patience and balance are key to successful composting. Start small, stay consistent, and watch your efforts bloom into healthier plants and a happier planet.
Helpful Tips to Keep in Mind
1. Always maintain a good balance between green and brown materials to keep your compost healthy and odor-free.
2. Regularly turn your compost pile to introduce oxygen, which speeds up decomposition and prevents bad smells.
3. Avoid adding meat, dairy, oily foods, or diseased plants to prevent pests and contamination.
4. Monitor moisture levels carefully; your compost should feel like a damp sponge—not too wet or too dry.
5. Use finished compost to enrich your garden soil or make compost tea for an extra nutrient boost to your plants.
Key Takeaways
Successful home composting depends on choosing the right bin that fits your space and lifestyle, maintaining a balanced mix of materials, and ensuring proper moisture and aeration. Avoid common pitfalls like overwatering, adding inappropriate scraps, or neglecting to turn the pile. By paying attention to temperature and microbial activity, you can accelerate decomposition and produce nutrient-rich compost that benefits your garden and environment.
Frequently Asked Questions (FAQ) 📖
Q: How long does it take to make compost at home?
A: Typically, composting can take anywhere from two months to a year depending on factors like the materials used, the size of the pile, moisture levels, and how often you turn it.
In my experience, turning the pile every week and maintaining proper moisture can speed things up, giving you rich, dark compost in about three to four months.
If you’re patient and consistent, you’ll be rewarded with nutrient-packed soil that your plants will love.
Q: What kitchen scraps can I compost, and are there any I should avoid?
A: You can compost most fruit and vegetable scraps, coffee grounds, eggshells, and even small amounts of bread or grains. However, avoid adding meat, dairy, oily foods, or cooked leftovers because they attract pests and can cause odors.
I learned this the hard way when my compost bin attracted unwanted critters! Sticking to plant-based scraps keeps your compost healthy and your yard pest-free.
Q: How do I know when my compost is ready to use in the garden?
A: Finished compost looks dark, crumbly, and smells earthy—kind of like fresh soil. If you still see recognizable food scraps or yard waste, it needs more time.
When I first started composting, I was eager to use it too soon, but waiting until it fully breaks down really makes a difference in plant growth. You can sift it to remove any larger bits before mixing it into your garden beds for the best results.