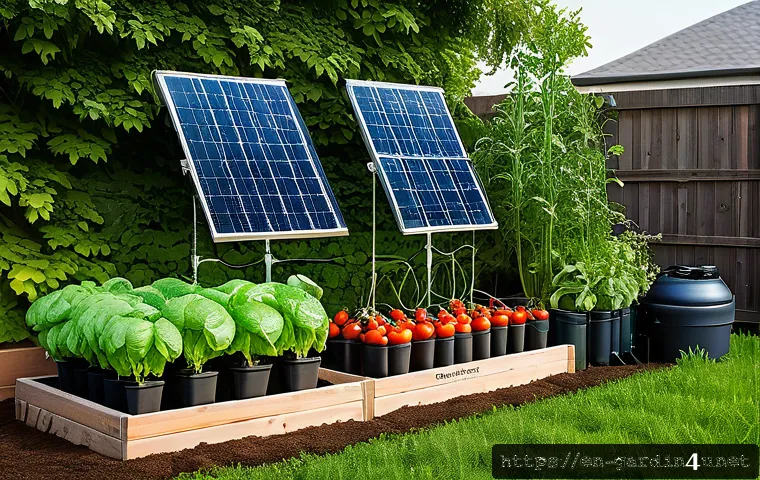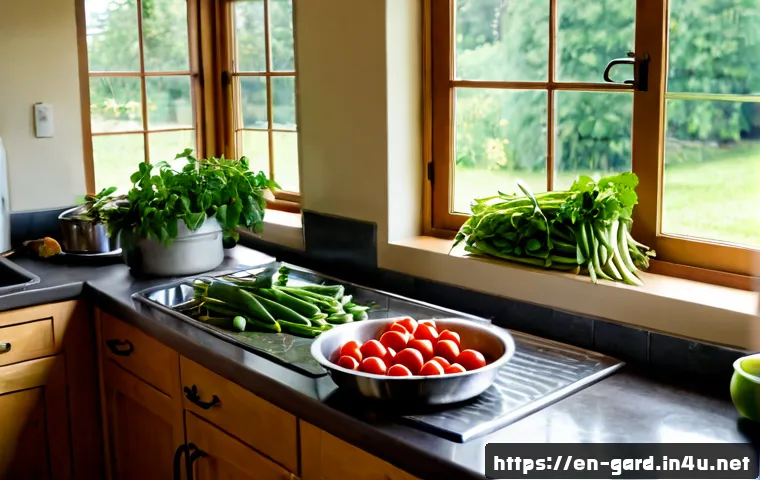
Choose refrigeration for food you will use soon, freezing for easy high-volume storage, drying for compact pantry storage, and fermentation or canning when shelf-stable options fit your cooking routine.
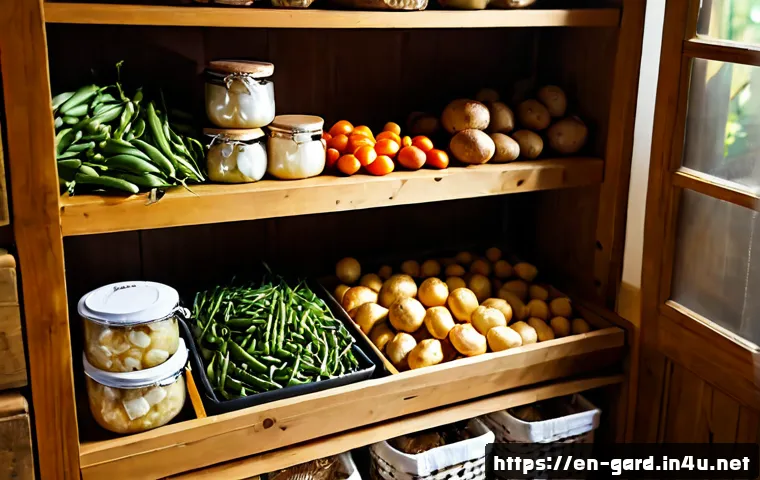
The best preservation method depends less on the crop alone and more on freshness, available space, preparation time, and the equipment you are prepared to use.
A simple freezer setup is often the most practical starting point for mixed harvests, while a food dehydrator can make sense for herbs, small fruit, and limited pantry space.
Canning supplies and pressure-canning equipment require more planning, but may suit gardeners who regularly preserve larger batches. Start with clean, sound produce, then choose packaging that protects it from air, moisture, and temperature changes.
For any canning project, use current tested instructions for the exact food and recipe.
At a Glance
- Short-term use: Refrigerate delicate greens, herbs, and produce you plan to cook or eat soon.
- Convenient medium-term storage: Freeze portioned produce when freezer space is available.
- Pantry-focused storage: Dry, ferment, or can suitable crops when shelf space matters more than fresh texture.
| Preservation Setup | Upfront Cost Level | Batch Capacity | Best Use | Key Buying Consideration |
|---|---|---|---|---|
| Freezer bags or freezer containers | Low | Small to medium | Portioned vegetables, fruit, herbs, sauces | Choose durable, well-sealing packaging sized for your usual meals. |
| Vacuum sealer and vacuum bags | Medium | Small to medium | Frequent freezing and bulk storage | Compare bag availability, sealing width, storage space, and ease of cleaning. |
| Food dehydrator | Medium | Varies by tray space | Herbs, fruit, and compact dry storage | Look at airflow design, tray capacity, controls, and countertop footprint. |
| Basic canning kit | Medium | Medium to large | Tested water-bath canning recipes | Check jar compatibility, pot size, rack, and replacement lid availability. |
| Pressure-canning setup | Higher | Medium to large | Foods requiring pressure processing under tested guidance | Use only with current tested instructions for the food, jar size, altitude, and recipe. |
Start With the Right Storage Plan for Each Type of Produce
The Quickest Answer: Match the Method to How Long You Need the Food to Last
There is no single best way to preserve a garden harvest. Refrigeration is the fast choice for produce you expect to use soon. Freezing works well when convenience matters and you have enough freezer room. Drying reduces volume and can free up valuable freezer space. Fermentation is useful for selected vegetables and flavor-focused batches, while canning is a pantry-storage option that requires careful use of current tested procedures.
Before buying preservation equipment, ask three practical questions: How much food do you harvest at one time? Where will you store it? And will you realistically process it on harvest day or during the weekend? Your answers usually point to a simpler, more useful setup than buying every tool at once.
Sort, Clean, and Remove Damaged Produce Before Processing
Begin by sorting your harvest. Set aside produce with visible damage, mold, leaks, or unexpected soft spots rather than mixing it into a storage batch. Use the best-looking produce for longer-term preservation and use more delicate items promptly where appropriate.
Clean work surfaces, containers, jars, tools, and hands before preparing food. Avoid letting washed produce sit wet for long periods when freezing or drying, because excess surface moisture can contribute to poor texture, ice buildup, or moisture problems in stored food.
Why Freshness at Harvest Affects Flavor, Texture, and Storage Life
Freshness is your first preservation tool. Produce that is handled gently and processed soon after harvest generally gives you better flavor and texture than produce that has already become wilted, bruised, or overly soft. This does not mean every crop needs immediate processing, but it does mean that delaying a large harvest without a plan can create unnecessary waste.
Harvest in manageable amounts when possible. If you expect more than you can process in one session, prioritize the most delicate crops first and keep the rest in suitable short-term storage until you can finish the job.
Compare Preservation Methods by Cost, Shelf Life, and Equipment Needs
Refrigerator Storage for Greens, Herbs, Roots, and Short-Term Use
Refrigeration is the least complicated option because it requires no special preservation equipment beyond suitable containers or produce storage bags. It is especially practical for leafy greens, tender herbs, and crops you plan to use in everyday meals.
Use containers that protect produce from crushing while avoiding trapped excess moisture. Some crops are better stored cool and dry rather than in a tightly sealed container, so match the storage approach to the individual crop. Check stored produce regularly and remove anything that begins to deteriorate.
Freezing for Convenience and High-Volume Harvests
Freezing is often the most flexible choice for gardeners who harvest mixed vegetables, berries, herbs, or tomatoes. It lets you divide food into cooking-size portions, which can reduce waste after thawing. Freezer bags, reusable freezer containers, and vacuum-sealing systems can all work when they are appropriate for freezer use and sealed carefully.
Some vegetables benefit from preparation steps such as blanching before freezing, while other foods may be frozen after simple washing, drying, or chopping. Follow current crop-specific guidance instead of assuming every vegetable needs the same preparation. Cool food appropriately before packing, leave room where needed, and press out as much air as practical without crushing delicate items.
Dehydrating for Compact Pantry Storage
A food dehydrator can be a useful purchase when freezer space is limited or when you grow herbs, fruit, and crops that store well in dried form. Drying reduces bulk, but it also changes texture. That is ideal for tea herbs, seasoning blends, snacks, soups, and cooking ingredients, but not always for dishes where fresh texture is important.
Compare dehydrators by tray capacity, airflow, cleaning effort, storage size, and whether the controls suit the foods you intend to dry. After drying, protect food from humidity with suitable moisture barriers and storage containers. If a dried item becomes damp, shows mold, or changes unexpectedly, do not treat it as a normal pantry item.
Fermentation for Selected Vegetables and Flavor-Focused Batches
Fermentation can be a satisfying method for selected vegetables when you enjoy tangy flavors and small, hands-on batches. It does not replace tested canning guidance, and it requires attention to cleanliness, the recipe process, and signs that a batch is not developing as expected.
Use a recipe designed for fermentation rather than improvising ingredient ratios or storage steps. Choose vessels that suit the batch size and make it easy to observe the food. If you see mold, notice an off odor, or observe unexpected changes, do not rely on a taste test to decide whether it is safe.
Canning Options and When Specialized Equipment Is Worth Buying
Canning can turn a heavy seasonal harvest into shelf-stable ingredients, but it is the method where precision matters most. Water-bath canning and pressure canning are not interchangeable. The correct approach depends on the food, recipe, jar size, acidity requirements, altitude, and current tested guidance.
A canning kit may be worthwhile if you repeatedly make tested recipes and have pantry storage for jars. A pressure canner may be worth considering only when it matches the types of foods you intend to preserve and you are willing to follow the required tested processing instructions closely. Before comparing brands or accessories, confirm which method your planned recipes actually require.
Step-by-Step Preparation and Storage Practices That Prevent Waste
Cooling, Blanching, Drying, and Portioning Before Storage
Preparation should support the method you choose. Cool cooked or blanched food as directed before packing. Dry washed produce thoroughly when excess water would reduce quality. Divide food into portions that match your household routine, such as soup ingredients, smoothie fruit, or a single meal’s worth of vegetables.
Smaller portions are often easier to use. They thaw more predictably and reduce the temptation to refreeze leftovers. For gardeners with limited time, prepare a few reliable formats rather than trying a different technique for every crop.
Selecting Jars, Freezer Containers, Vacuum Bags, and Moisture Barriers
Choose storage materials according to the conditions they will face. Freezer storage needs packaging that can handle cold temperatures and limit air exposure. Dry storage needs containers or barriers that help keep moisture out. Canning requires jars, lids, and equipment that fit the tested instructions you are following.
Vacuum sealers can be useful for households that freeze often, especially when air exposure has been a recurring quality problem. However, a vacuum sealer is not essential for every beginner. Well-sealed freezer bags or containers may be enough when you label clearly, rotate food, and avoid keeping packages open longer than necessary.
Labeling Dates, Rotating Stock, and Tracking What Should Be Used First
Every preserved item should have a clear label. Include the food name, preparation style, and date stored. If you make several versions of the same crop, such as chopped tomatoes, tomato sauce, and roasted tomatoes, label them distinctly so they are easy to choose later.
Keep older items toward the front of the freezer or pantry. A simple list on the refrigerator, pantry door, or phone can help you remember what is available before buying more produce. This is especially useful for gardeners who preserve several small batches over a season.
Common Mistakes That Cause Freezer Burn, Spoilage, or Poor Texture
Common quality problems often begin with rushed packing. Freezer burn can be encouraged by poor seals, excess air, and packaging that is not suited to freezing. Moisture damage in dried food can happen when food is packed before it is adequately dry or stored where humidity can reach it.

Other avoidable mistakes include packing food while it is still too warm, using damaged containers, skipping labels, and combining poor-quality produce with a good batch. For canned or fermented foods, do not ignore damaged lids, leaks, mold, off odors, or unexpected appearance changes.
Choose a Method Based on Your Harvest, Kitchen Space, and Routine
Best Approaches for Tomatoes, Berries, Leafy Greens, Beans, Herbs, Squash, and Root Vegetables
Tomatoes are flexible: they may be refrigerated for near-term cooking, frozen in useful forms, dried, or preserved using a tested canning recipe. Berries are often convenient for freezing or drying when you want to avoid a crowded refrigerator. Leafy greens are usually best treated as short-term foods unless you have a specific freezing or drying use in mind.
Beans may suit freezing when you want an easy side dish later, while herbs can be refrigerated briefly, frozen in portions, or dried for seasoning. Squash and root vegetables vary widely, so consider whether cool, dry storage, refrigeration, freezing, or another method best suits the specific crop and your home conditions.
Small-Apartment Options for Limited Freezer and Pantry Space
When space is tight, avoid building a preservation plan around equipment you cannot store comfortably. Start with stackable freezer containers, flat freezer bags, a few dependable jars, and compact dry-storage containers. Drying herbs or small fruit may use less storage space than freezing large loose bags of produce.
Think vertically as well as horizontally. Flat frozen portions can be organized in bins, and clearly labeled containers are easier to rotate than a freezer filled with unmarked packages. A compact dehydrator may fit some households better than a large canning setup, but only if dried foods are part of your regular cooking routine.
Batch-Processing Strategies for Weekend Gardeners
Weekend processing works best when you keep the plan simple. Gather supplies before harvest day, clear a work surface, and choose one or two methods for the day’s crop. For example, you might freeze prepared vegetables for weekday meals and dry herbs that would otherwise wilt.
Do not treat every harvest as an all-day preservation project. Some crops can stay in short-term storage while you handle the most perishable items first. Consistent small batches are often easier to manage than a large, exhausting session that leads to missed labels or poor packaging.
When a Larger Dehydrator, Chest Freezer, or Canning Setup May Offer Better Value
A larger appliance or canning setup may provide better value when you regularly harvest enough produce to fill it and have a reliable place to store both the equipment and the finished food. Capacity alone is not the deciding factor. Consider cleanup, power reliability, replacement supplies, and whether your household will actually use the preserved food.
A chest freezer can support frequent freezing, while a larger dehydrator can reduce repeated tray loading. A canning setup may suit gardeners who prefer pantry-ready ingredients and use tested recipes regularly. Compare the usable capacity, ongoing supply needs, and storage footprint before making a purchase.
Food-Safety Checks Before You Store or Serve Preserved Food
Use Current Tested Instructions for Canning and Pressure Processing
For canning, follow current tested instructions for the exact food, recipe, jar size, altitude, and processing method. Do not assume that a process for one tomato product, vegetable, or jar size applies to another. Acidity requirements, processing times, and pressure-canning settings can vary.
If a recipe does not provide reliable, current guidance for your specific situation, choose refrigeration or freezing until you can verify the proper process. Equipment manuals and current food-preservation guidance can help you confirm what applies to your batch.
Watch for Damaged Lids, Leaks, Off Odors, Mold, or Unexpected Changes
Inspect stored food before serving it. Discard items with damaged lids, leaks, visible mold, off odors, or unexpected changes in appearance. Check freezer packages for broken seals and dried foods for signs of moisture exposure.
Quality and safety are not the same thing, but visible storage failures should not be ignored. When in doubt, avoid handling questionable food as though it were safe to sample.
When to Discard Food Rather Than Taste-Test It
Do not taste food to decide whether it is safe when there are signs of spoilage or packaging failure. A small amount of food is not worth the risk of relying on smell, appearance, or a quick taste alone. Discard questionable preserved food and clean any surfaces or containers that may have been affected.
Selection Criteria and Comparison Summary
Choose your preservation setup by checking these practical points:
- Choose refrigeration if speed, fresh texture, and near-term meals matter most.
- Choose freezing if you want familiar ingredients ready for soups, sauces, side dishes, and smoothies.
- Choose drying if pantry space is limited and compact ingredients fit your cooking habits.
- Choose fermentation or canning only when you want those flavors or shelf-stable formats and can follow the appropriate process carefully.
- Buy basic storage supplies first, then consider a vacuum sealer, food dehydrator, chest freezer, or canning equipment after your harvest routine proves you will use it.
Before purchasing, check the product page for capacity, compatible bags or jars, replacement supplies, cleaning requirements, and storage dimensions.
Closing Thoughts
A good harvest-preservation plan is usually a mix of methods rather than a single perfect solution. Refrigerate what you will use soon, freeze what supports easy meals, and use drying, fermentation, or canning when they fit your storage goals. Start with the tools you will use repeatedly, not the largest setup available. Careful sorting, suitable packaging, and clear labels can prevent a surprising amount of waste.
Useful Things to Know
1. Preserve foods in portions that match the way you cook.
2. Flat freezer packages can make limited freezer space easier to organize.
3. Dry foods need protection from moisture after processing.
4. Keep an inventory so preserved food is used before it gets forgotten.
5. A simple routine often performs better than a complicated system with unused equipment.
Important Notes
Storage results depend on produce freshness, preparation, packaging quality, temperature, humidity, and, for frozen food, power reliability. Exact canning safety requirements vary by food, recipe, jar size, altitude, and current tested guidance. Always verify the correct method before water-bath canning or pressure canning, and discard food with signs of spoilage or package failure rather than taste-testing it.
Frequently Asked Questions
Q1. What is the cheapest way to preserve a large garden harvest?
A1. The cheapest practical option often depends on the storage space you already have. Refrigeration costs little in equipment but is for short-term use. Freezer bags or reusable freezer containers can be a straightforward starting point if you have freezer space. Drying can save space for suitable crops, but a dehydrator is an added purchase unless you already have an appropriate drying method.
Q2. Is a vacuum sealer worth buying for freezing vegetables and fruit?
A2. A vacuum sealer may be worthwhile if you freeze often, store many batches, or regularly notice air exposure and freezer burn. For occasional use, quality freezer bags or freezer containers with careful sealing may be sufficient. Compare bag availability, storage space, cleaning needs, and how often you expect to use the appliance before buying.
Q3. Which garden vegetables should not be stored in the refrigerator?
A3. Storage needs vary by crop, maturity, and home conditions. Some vegetables are better suited to cool, dry storage rather than refrigeration, while delicate greens may need refrigeration for short-term quality. Check crop-specific storage guidance instead of using one rule for every vegetable, and inspect stored produce regularly for moisture damage or deterioration.